Convert a JSON object to an XML string

The “Convert JSON to XML” action takes a JSON object and turns it into a XML string.

This action allows users to turn a JSON object that they may not be able to use into a XML string which is more optimal for their system.

Parameters

TitleNameTypeDescription

Input

inputarray

Value

Root

root

string

Root name

Response

Status

TitleNameTypeDescription

Success

Result

result

string

XML string

Failure

Result

result

string

Error description

Integrate the "Convert JSON to XML" function into a workflow or app with the platform of your choice:

How to convert a JSON array to an XML string with Microsoft Power Automate

Instructions

  1. In the Flow designer, click the “+” icon to insert a new action.
  2. Select the “Data – JSON to XML” action under PowerTools in the “Choose an operation” dialog.
  3. Insert the necessary values or variables in each input field.
  4. Execute the flow.

Example

Video

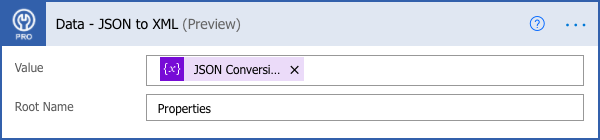
How to convert a JSON array to an XML string with Microsoft Power Apps

Instructions

  1. Add the PowerTools connector from the Data menu.
  2. In the formula for the control, variable or element, type “ApptigentPowerTools.JSONtoXML().result”. Within the parentheses, enter the field, control or variable that contains the source collection.
  3. Preview or run the app.

Example

Video

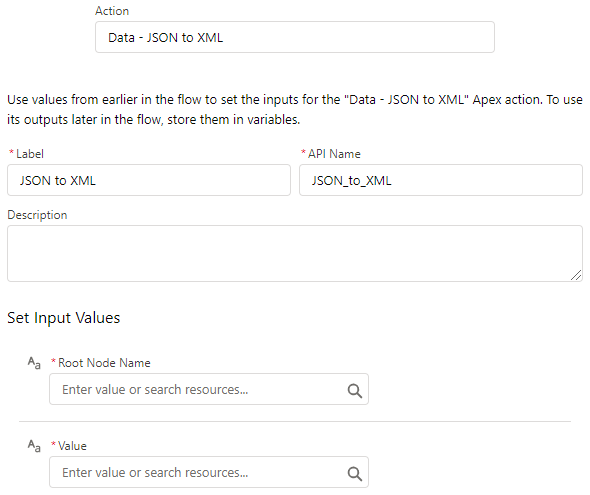
How to convert a JSON array to an XML string with Salesforce

Instructions

  1. Drag and drop a new action onto the design surface. Edit the action and choose PowerTools from the category menu on the left.
  2. Click in the “Action” search box, scroll through the action list and choose “Data – JSON to XML”. Insert the necessary values or variables in each input field. (Note: Click the “Advanced” link to manually assign output variables to the action results.)
  3. Run or Debug your flow to preview the results.

Example

Video

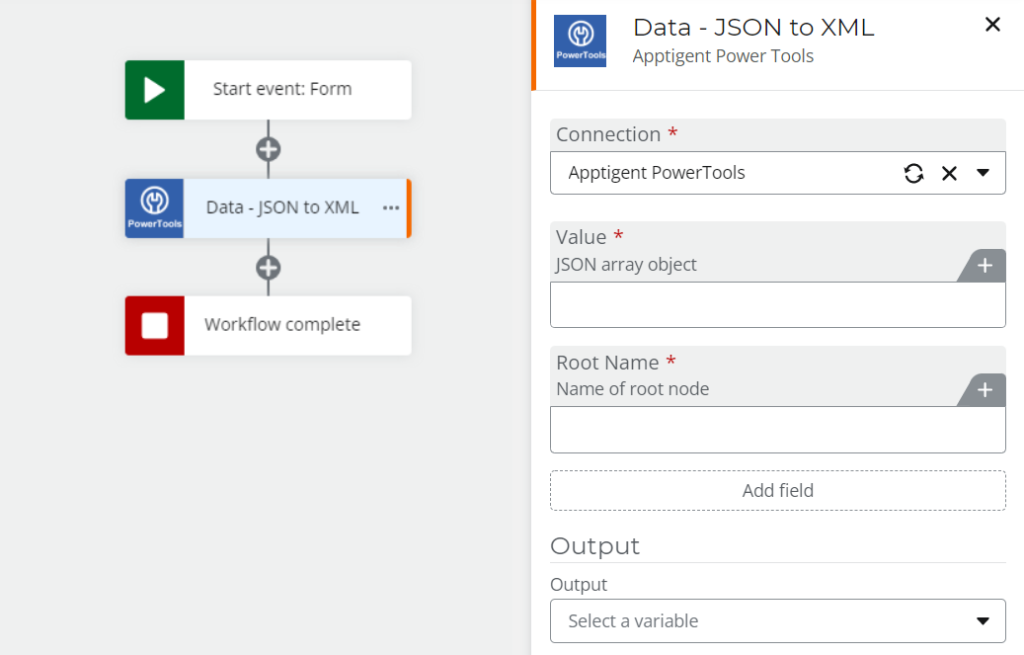
How to convert a JSON array to an XML string with Nintex

Instructions

  1. Locate the “Apptigent PowerTools” group in the actions navigator then drag and drop the “Data – JSON to XML” action onto the design surface.
  2. Insert the necessary values or variables in each input field.
  3. Assign the result to a variable.
  4. Test the workflow.

Example

Video

How to convert a JSON object to an XML string with another Platform or Custom Code

Instructions

If your platform is not listed and it supports Open API (Swagger) extensions, import the API Definition document from the Developer Edition product on our Customer Portal at https://portal.apptigent.com/product (look for the Open API link at the top of the PowerTools Developer API definition page). Invoke the desired actions in your app or workflow design tool, supplying values for the listed parameters. Refer to the developer documentation on the Customer Portal for details on input and output formats.

If you are developing a custom app, execute a RESTful POST operation to the /CountCollection endpoint in your application code or use the pre-generated client scaffolding from our Github repo at https://github.com/apptigent/powertools. Be sure to include your API Key (Client ID) in the header using the “X-IBM-Client-Id” key/value pair. The body should be a well-formed JSON object with the parameter label(s) and value(s) in the specified format. Refer to the API documentation at https://portal.apptigent.com for more information.

Example

const request = require('request');

const options = {
  method: 'POST',
  url: 'https://connect.apptigent.com/api/utilities/JSONtoXML',
  headers: {
    'X-IBM-Client-Id': 'REPLACE_THIS_KEY',
    'content-type': 'application/json',
    accept: 'application/json'
  },
  body: {
    input: '{"property1":"value","property2":"value","property3":"value"}',
    root: 'Properties'
  },
  json: true
};

request(options, function (error, response, body) {
  if (error) throw new Error(error);

  console.log(body);
});